Session 16 – The Coalridge Candymen Score
Also known as Season 2 Episode 4, our fourth session for 2021.
This is the session where I tried to give Leander a trauma. I was surprised that the other PCs went to rescue him as I had it all plotted out assuming that no one came to rescue him. Players do the unexpected….
The premise of this score was to have a Tier 1 gang take a shot at the Emporium Crew – a group of plucky amateurs who are completely out of their league. How will the Emporium Crew respond to them?
Personally, I thought this one of our best sessions. There was all sorts of ‘awesome’ in this.
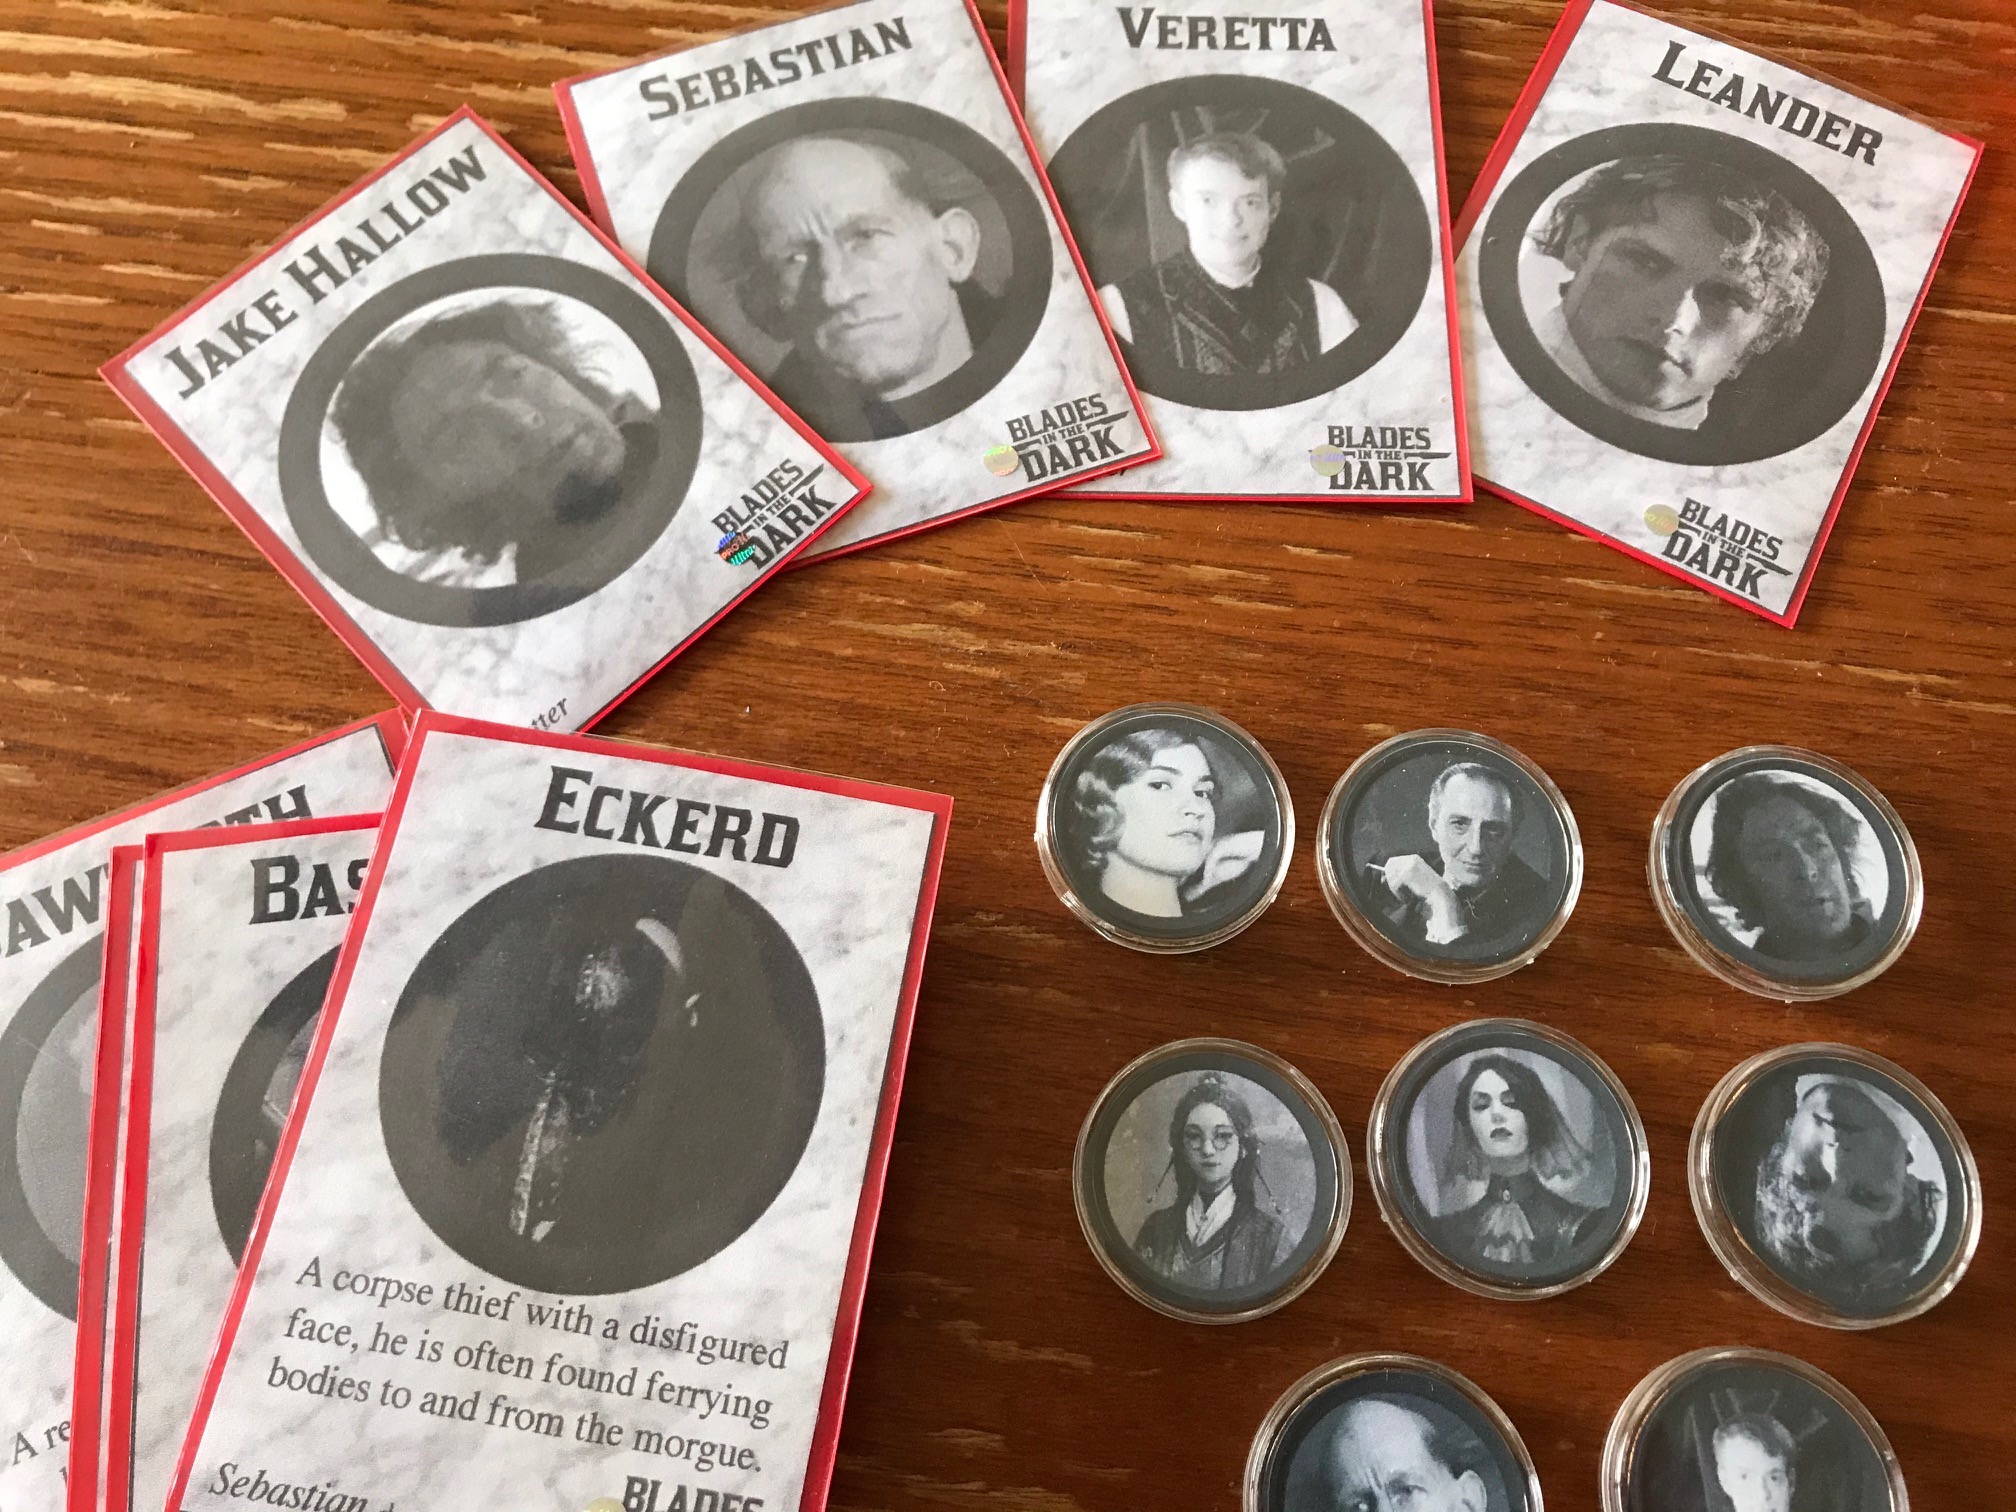
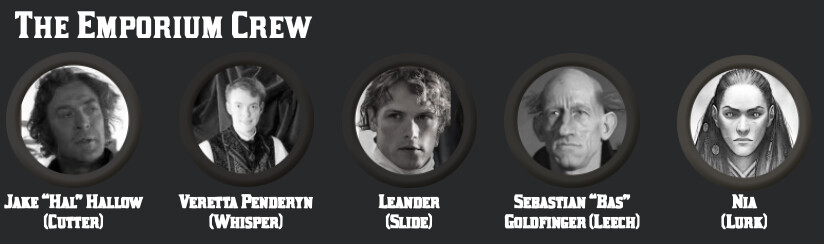
PCs:
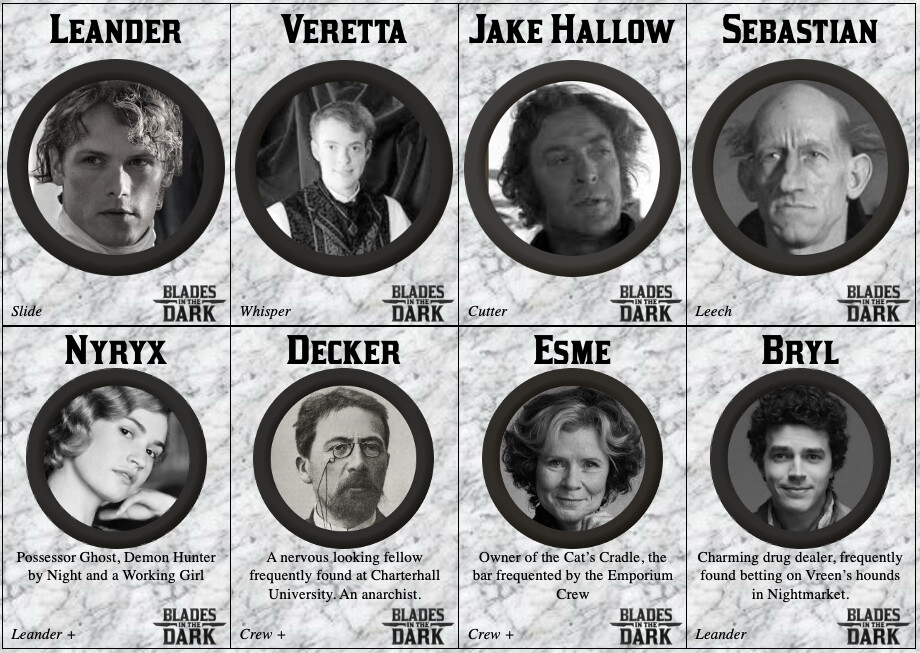
- Jake “Hal” Hallow (Cutter)
- Veretta Penderyn (Whisper)
- Leander (Slide)
- Sebastian “Bas” Goldfinger (Leech)
- Nia (Lurk)
Part 1 - What has gone before
- Veretta is hard at work trying to figure out the ritual for activating an unguarded Ancient Gate into the Deathlands.
- Leander has been very busy setting up three new stores in Duskwall. He has moved into his townhouse in Brightstone but it is largely bare.
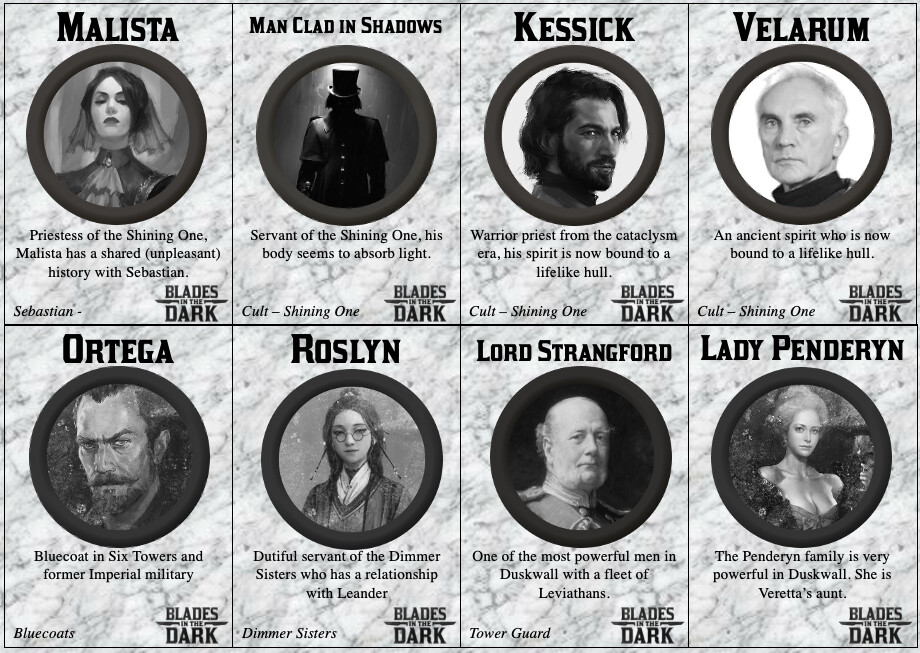
- Nessa has approached the Emporium Crew with an unusual request. One of her comrades, Belloc, was badly injured in the fires when the Bluecoat station that they were subsequently blamed for. He wears extensive bandages and is in a state of near-constant pain. Now that they have located Becker, the traitor who ratted them out, she wants to know if the Crew could switch Belloc’s spirit into Becker’s body, and vice versa. It’s an unusual request but Veretta and Bas agree to help. Nessa explains that it will not only punish Becker, but it will enable the Greycloaks to have an ‘inside man’ as to what Strangford may be up to now.
Part 2 – Small Mercies (Hal, Nia)
- The session opens with Hal and Nia racing through the streets of Duskwall in hot pursuit of Mercy and one other Red Sash. Hal is tired of being hunted – he plans to deal with Mercy on his terms and go on the offensive. Killing Mercy is very much on his mind.
- Hence we go straight to an Engagement Roll – on 2D we get a ‘5’, placing them in a Risky situation. It’s 2 on 2. (Note that the Emporium Crew is Tier 3, and the Red Sashes are Tier 2)
- Hal uses Hunt to approach this, and he takes a Devil’s Bargain. He is successful – Mercy and her comrade are unable to elude them. However, they pick up additional reinforcements and it’s now 4 v 2. The Devil’s Bargain that Hal accepted is that at a dramatically appropriate moment, Hal will remember his old friendship/relationship with Mercy and have second thoughts. (She is a negative Contact of his, but there was a positive relationship in the past).
- Nia uses Prowl to get into an advantageous position and rolls a 4. She is well positioned for when violence breaks out however they’re now in a Desperate position because they’re outnumbered.
- Mercy and the Red Sashes seem to think it is 4 v 1 (they haven’t seen Nia yet). They start moving towards Hal, knives out. At this moment the Devil’s Bargain kicks in. He stops short of running into battle, and instead he makes a Command roll (6) and coldly tells them that unless they back off, he’s going to butcher the lot of them. This has Greater Effect because of the Tier difference. Mercy goes white as she realises that Hal means it, and she halts the others. Then she signals them to retreat. As they do, Nia tilts her blades so that they shine in the darkness, revealing that Hal wasn’t alone. The Red Sashes hurry away, shaken by their encounter. (The Active Clock for ‘The Red Sashes find Hal’ is now dead).
Part 3 – Unexpected Visitors (Leander)
- There are persistent knocks on the front door. Leander heads down the stairs to open it himself. His new townhouse is spartan, almost completely devoid of furnishings. He opens the door and is surprised to see a small group of Bluecoats standing on his doorstep.
- Quickly composing himself, he is about to ask what they want when one of them takes a step forward and swings a fist. Leander is caught off guard. He doesn’t go down with the first blow but two of them keep on hitting him and he is quickly knocked out.
- The Bluecoats take a look around. Fanning out, they seem disappointed that there is nothing here worth stealing. They are in no rush. Time passes and they finally decide to leave, dragging Leander out the door with them into a waiting Bluecoat carriage.
- Leander’s Engagement roll was a 1, putting him in a Desperate situation. Leander makes a Prowess roll to resist Level 2 damage and gets a 6, hence he takes only Level 1 damage - a black eye. He remains on 4 Stress.
Part 4 – Sales Pitch and the Black Medusa (Bas, Veretta)
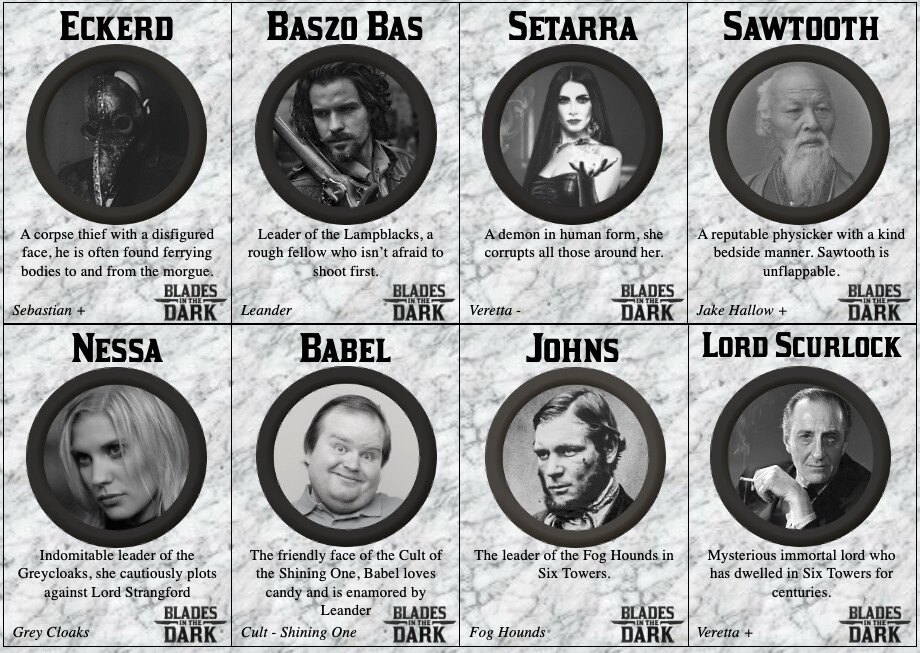
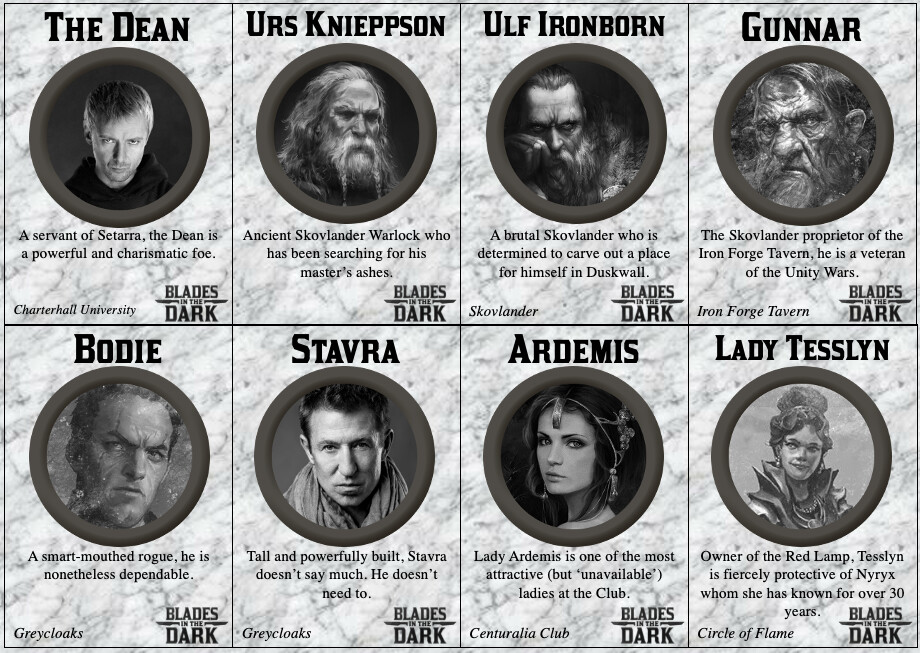
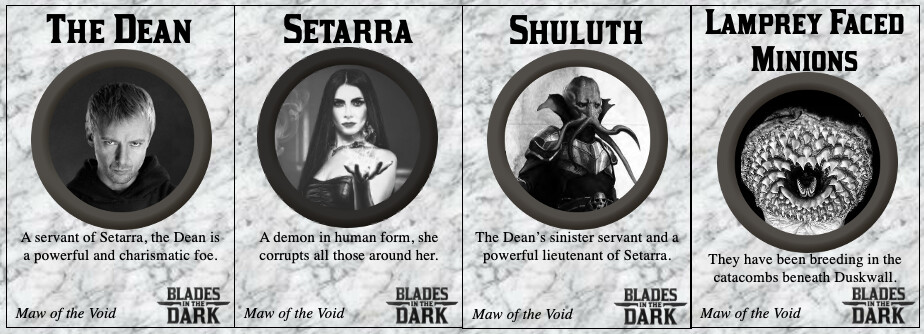
- We cut across to Bas who is meeting The Dean of Charterhall University. The Dean is known to the Emporium Crew as a devoted servant of Setarra, but he’s also Bas’ employer which makes their relationship…. tricky. Also, The Dean is smarting because someone recently stole an artifact from his office.
- Bas wants to try to get The Dean to show interest in some of his prosthetics business ideas. To Bas’ surprise, The Dean is very pleased to talk to Bas, but diverts the conversation and offers Bas another project. Two of Doctor Lang’s associates (ie: junior researchers) have been killed investigating a ‘subject’ which is supposed to be inert. The Dean wants Bas to take over investigation. On one hand Bas is curious, but he is also put off by The Dean’s zeal in this matter. Bas feels that he can’t say no, and The Dean promises that there will be other even more interesting projects if he succeeds. He also says offhandedly that he even be interested in this ‘other business’ that Bas has mentioned.
- The ‘subject’ appears to be an inert piece of coral – like a treebranch. Lang’s associates were trying to bring it back to life, and The Dean seems very fixated on knowing whether it is possible or not. He assumes it must be given that it has killed two people. The Dean even has a name for it : Black Medusa.
- Bas agrees to investigate and he decides to enlist Veretta’s help (without asking The Dean). While Veretta goes through the dead scientists’ notebooks about their previous investigations, Bas goes to the morgue to try to find out more from their corpses as to what might have killed them.
- Veretta makes a Study roll and get a ‘4’ so he gets Limited Information. The dead scientists were sloppy and didn’t take good notes. Black Medusa was immersed in inky black seawater, and there is evidence that they used electroplasm to try to revive it. He gets the impression that they were on the right track, but they were sloppy about recording exactly what they did.
- Bas has better luck. He looks over the two bodies and gets ‘6’ with his Tinker skill (he has Physicker). He has worked with toxins and Death Leeches before – he finds discolouration evidence that there has been some sort of needle-like punctures and the injection of deadly toxin into the dead men.
- As such, Bas and Veretta very quickly figure out that they are dealing with something dangerous and they decide to proceed carefully and take precautions to avoid a repeat.
Part 5 - Softened Up (Leander)
- The scene shows Leander in a concrete walled cell with thick iron bars. Manacled to a chair, he looks very much worse for wear with dark bruises on his arms and chest. His clothes are ripped and torn. There is blood on his face. Some his teeth feel loose. Two Bluecoats are resting their bruised knuckles - they’ve been beating the sh&t out of him for some time. They haven’t even bothered asking him questions. Leander makes a Prowess roll to resist Level 2 damage and gets a 5. He takes another Level 1 damage slot (bruised and battered). He now has 5 Stress on the tracker.
- Leander figures that it must be morning by now. These thugs must be part of the night crew. He doesn’t recognise any of them. They’re not Bluecoats from Six Towers, so where the hell is he? And what do they want? Bluecoats don’t do jobs like this unless they’re getting paid, so who hates him enough and is rich enough to do this?
- He doesn’t have long to wait. With the shift change, one of the Bluecoats tips a bucket of water over Leander’s head to clean up the mess and wash away the stink.
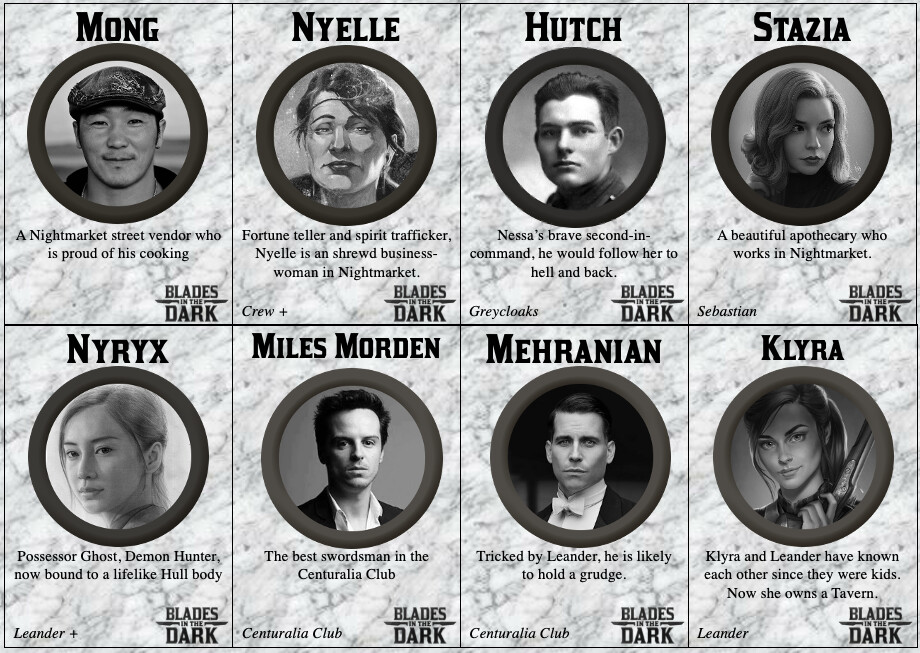
- That’s when the bastard comes in - it’s Mehranian, from the Centuralia Club. And he’s brought two of the guards from the Club with him – they’re dressed in Umbra Hunter uniforms. Mehranian looks down at Leander and asks for a chair from one of the Bluecoats. Leander is a bit surprised - he knows that he tricked Mehranian out of some coin but Leander didn’t expect him to take a grudge so seriously.
- A chair is presented and the Bluecoats are asked to ‘take a walk’. One of the Umbra Hunters takes off his jacket and is given the instruction to soften Leander up a bit further. This time, there are questions in between beatings. Mehranian wants to know what Leander knows about… Kotar.
- Leander makes an Insight roll to resist Level 2 damage and gets a 6. He is further beaten up, remaining 5 Stress on the tracker but ends up with a Level 2 wound anyway (because he can’t take any more Level 1 Wounds) - effectively he is so battered that he’s not going to walking far in a hurry. Hence Leander figures out that Mehranian is part of the Circle of Flame, and he seems certain that Leander has been in recent contact with one of the relics of Kotar. Leander lies and saying that he knows nothing about this (Sway = 6), however this has only limited effect. Judging that Leander will crack eventually, Mehranian asks the Bluecoats to take care of him and says that he’ll back.
Part 6 – Enter the Candymen (Hal, Nia, Bas, Veretta)
- Off-camera, what has happened is that a Tier 1 gang called the Candymen (from Coalridge) have attacked the Silkshore store. They attempted to steal stuff (got a ‘4’ on 2D), hence they were successful but they still got followed back to Coalridge by one of the Emporium employees who lives at the Silkshore store (on the upper level). They attempted to firebomb the place (and got a ‘4’ on 1D) hence they were successful but only caused limited damage. They also tried to use extortion and send a threatening letter (and got a ‘4’ on 2D) but the complication was that the letter was delivered to Leander’s home, and he has been abducted. So that is the backdrop….
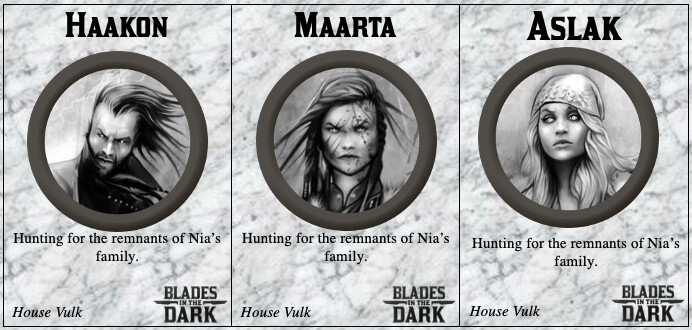
- Hal and Nia are at the Cat’s Cradle (Esme’s pub), having a drink. Hal is feeling very good – he finally feels that he has gotten Mercy off his back – and he’s built quite a good rapport with Nia. Nia is starting to open up. She tells him that her family was murdered in Tycheros and she is almost the last of her clan. She’s almost certain that her family’s rivals will have send assassins to finish the job. (Nia’s family have catlike features, the rival family have doglike features). Hal swears to back her up any time.
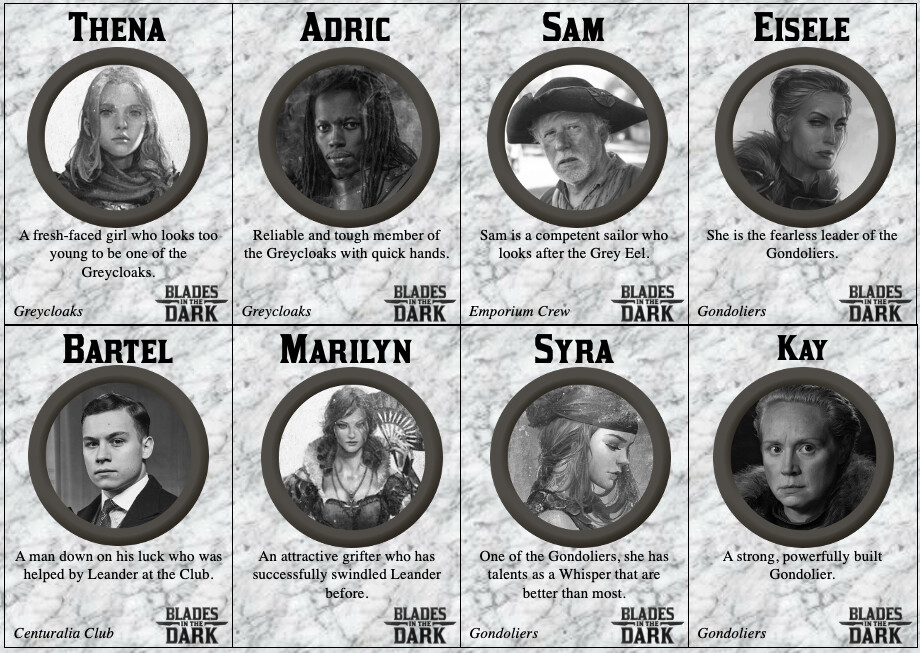
- Late in the evening, Adric (of the Greycloaks) walks in. Seeing Hal, he walks over and explains that the Silkshore shop has been attacked by some very inept thieves. They got away with some stuff but he and Marla (one of the shop staff) tracked the thieves all the way to Coalridge. He mentions that Lucille (the older shop staff member) is a bit shaken but she’s cleaning up the damage. He tried to report this to Leander but there was no answer at his house, so he came to the Cat’s Cradle and got lucky that Hal was here.
- Hal takes charge, praises Adric for his quick thinking and tells him to secure the Silkshore store while he mobilises the rest of the Crew. Even though Adric doesn’t know exactly which houses the Candymen came from, he knows roughly where they are and he saw them closely enough to describe them well.
- Back at the Keep, Hal and Nia prepare for war. Guns. Knives. Tools of the Trade.
- Bas and Veretta return to the Keep and are surprised to see Hal and Nia getting their Heavy Load on. They are quickly appraised of the situation and agree that they need to deal with the Candymen. However, Leander’s absence is a problem and they think it possible that something might have happened to him – hence they want to go to Brightstone first.
Part 7 – Nobody Home (Hal, Nia, Bas, Veretta)
- The door to Leander’s house is locked but Nia deftly picks the lock (Finesse = ‘6’). Remarking how poor his security is, the Crew enter his house and Hal mistakenly thinks that Leander has been robbed because all of his furnishings have gone. There is a letter on the ground which the Candymen have delivered, which threatens further damage to the Emporium Crew unless they pay for ‘protection’. The letter identifies their rivals as the ‘Candymen’ and suggests a place in Barrowcleft where the Emporium should ‘pay’. The Emporium Crew laugh as they are clearly dealing with amateurs. However, they also realise that it makes no sense to deliver a letter to someone who isn’t here. Veretta wonders if Leander has been abducted by another group.
- Looking into the ghost field, Veretta is able to tell that Leander was assaulted when answering the front door. The violence shows up clearly as it was recent and the strong emotions resonate. (Veretta got a ‘6’ on his Attune roll). He identifies Leander’s assailants as Bluecoats. Their badges indicate that they are from the Charterhall district.
Part 8 – Change of Plan → Find Leander (Hal, Nia, Bas, Veretta)
- Judging that it is more important to find Leander than to hunt down the Coalridge Candymen, they split up.
- Nia goes to see Petra, her contact in City Hall. It is late, but Nia knows where Petra lives and she goes to meet her there. Nia accepts a Devil’s Bargain – Petra will help this time but will be less receptive next time Nia asks for help. She gets a ‘5’ on Consort so Petra is able to provide limited information. Nia wants to know where the Bluecoats would likely take Leander and whether there are any more private locations other than the station house. Petra says that there is nothing like that in Charterhall and that they would almost certainly take Leander to the station. Nia thanks her and departs.
- Meanwhile Bas tries to talk with some local urchins that are known to him in Charterhall. He gets a ‘3’ on his Consort – the urchins are happy to help Bas out if they see anything (for the promise of some nice candy) but they haven’t seen anything yet which would be useful.
- Feeling a sense of dread, Veretta goes to see Lord Scurlock (as GM, I was surprised by this). It is late and so Veretta is hoping that Scurlock will be up and ‘active’. A Fortune Roll resulted in a ‘4’. Oskar answers the door when Veretta knocks and says that his Uncle is a bit busy. He asks if it is important. Veretta is disappointed as he half-suspected that Lord Scurlock might be expecting him. He departs without seeing Lord Scurlock.
- Hal decides to stake out the Charterhall station house. He makes a ‘Hunt’ roll and gets a ‘4’, managing to successfully ambush a Bluecoat who is leaving the station, now off-duty. With a mask on, Hal attempts to intimidate the Bluecoat. He succeeds on a Command roll (with a ‘6’) and the Bluecoat, fearing for his life, tells him that Leander is being held within the station house. He was interrogated and a doctor named ‘Austin’ was sent for.
Part 9 – A Chance to tell the Truth (Leander)
- Leander lies on his side, still chained to the chair. He has passed out and been sleeping on the cold floor. His dreams are black and empty. The sound of the key being turned in the padlock is not enough to wake him. He hears voices but isn’t able to make out what is being said. Then he feels the manacles being removed and he is carried from the room. He is not aware of it but a physicker has been summoned and Inspector Severin has taken a personal interest in what has happened here.
- We switch scenes to another interrogation room, only this one is cleaner and Leander has a cup of water and some soft bread to nibble on. He sits calmly at a table, eyeing Severin as he gathers his wits and thinks.
- Severin has been studying Leander for some time. He asks if he is feeling better and Leander thanks him. Severin makes comment that he seems to have powerful enemies. Leander asks if he is free to go, and Severin says that he has some questions for him. Leander makes a Sway roll and gets a ‘5’. Hence he is successful in answering Severin’s questions, however the consequence is that the Active Clock – Severin Figures It Out – is now 5 of 6. Severin has figured out that the Emporium Crew armed the Greycloaks who then eliminated the Bloodletters in order to secure turf. After all, Severin has already met Stu, the surviving Bloodletter – but he still doesn’t know why. Even if Severin believes Leander is innocent (after all, he got a ‘5’ which is a success), he is pretty sure that the rest of the Emporium Crew are involved.
- Severin is sympathetic to the Greycloaks - he believes many of them were falsely accused (he has met Nessa before) – so he is torn as to what to do. He resolves to think on it, and leaves Leander in lock-up. He arranges to move Leander to another location shortly. (this would have been a severe consequence as Mehranian was going to show up again, however the rest of the Emporium Crew interfered before that could be triggered)
Part 10 – Enter Doctor Goldfinger (Hal, Nia, Bas, Veretta, Leander)
- Bas has heard of Doctor Austin so he assumes that he must be local to Charterhall (Fortune roll – successful) As such, the Crew goes to Hunt him down (and gets a ‘6’) – they basically reach him just as he is returning home from Charterhall station house. Very emotional, Hal threatens to smash his face in unless he tells them where Leander is; and the Doctor tells them that there is no need for violence and explains that Leander is at the station house and in reasonable condition. He had sustained numerous injuries due to physical beatings but Inspector Severin is looking after him now.
- Hal, Nia, Bas and Veretta look at one another. It is not good that an Inspector is showing interest in Leander. Leaving Doctor Austin, they resolve to liberate Leander immediately. A plan is hastily dreamt up – they will threaten the Bluecoats with Leander’s lawyers, and Bas will claim to be Leander’s personal physician and demand to see him. They discuss different ideas about creating some sort of medical emergency so that the Bluecoats will be forced to release Leander.
- Figuring that they will ‘wing it’, the crew splits up. Nia stands by in case they need to break Leander out. Hal waits with the Akorosian goats in case they need a speedy getaway. Veretta heads to the morgue at Charterhall University, figuring that they may need medical equipment if Leander is badly hurt. Then, ‘Doctor Goldfinger’ (Bas) goes into action. He boldly strides into the station house and demands to see his patient. Bas makes a Consort roll and gets a Critical (two 6s). As such, the Bluecoat on duty is cowed by Bas. He makes weak excuses that Doctor Austin has only just been to see Leander, but quickly agrees to take Bas to the cell block when Bas explains that Leander has ‘delicate medical conditions’.
- Leander is astonished to see Bas and he quickly explains that the Circle of Flame arranged his abduction – they seem to know that he has been in proximity to one of the artefacts of Kotar. Then Inspector Severin showed up and he seems to have figured out The Emporium’s connection to the Greycloaks and that they were involved in the destruction of the Bloodletters.
- Bas decides to get Leander out, and he tells the intimidated Bluecoats that Leander’s condition is ‘most dire’. Leander is released and whisked away in the goat-drawn carriage.
Part 11 – Bloodbath at the Morgue (Hal, Nia, Bas, Veretta, Leander)
- The Crew is reunited in the Morgue at Charterhall University. A bruised and battered Leander explains what has happened. Hal fills Leander in regarding the Coalridge Candymen, who seem to be the least of their problems. They discuss what to do.
- The Crew almost decide to kill Inspector Severin and just ‘have him disappear’ as it seems to solve a lot of problems. Veretta points out to Leander that he will have to ‘disappear’ because the Circle of Flame will keep gunning for him. Leander’s reaction surprises them – he laments that he won’t be able to go to the Centuralia Club again. Veretta tells him to get out of town – go to Whitehollow and lie low for a while. Leander points out that if they think he has been in proximity to one of the artefacts from Kotar, it is only a matter of time before the Circle of Flame come after them all.
- At last, they decide that they cannot kill Inspector Severin – he’s an honest man. They decide to take a risk and contact Leander’s lawyers to inform Severin (at Charterhall station) that wish to meet with him urgently. Hal decides to tell Nessa what they are doing – he tries to convince her that this is the best course of action and he gets a ‘6’ on his Consort roll.
- They put their plan into motion. The roll for this is a Group Survey to orchestrate all of this successfully, and the best roll is a ‘4’. As such, there is a consequence.
- The consequence is that while waiting for Severin to contact them, a group of four Umbra Hunters track them to the Charterhall University morgue. This is a Risky situation and they have the same Tier level as the Circle of Flame – Tier 3. Hence the two groups are evenly matched.
- A gun-battle breaks out in the morgue. Despite being injured, Leander accepts a pistol from the others and blows one of the Umbra Hunters away. (He gets a ‘6’ on Skirmish, but has to push himself, putting himself at ‘7’ Stress). Veretta ambushes one of them (and also gets a ‘6’ on Skirmish), neatly drilling one of them. The remaining two Umbra Hunters run for cover. Nia intercepts one of them and decapitates him (double-6 – a Critical on Finesse). Bas throws a bottle of formaldehyde at the remaining Umbra Hunter (he gets a ‘4’) – this staggers the individual as the liquid burns him and he returns fire with a pistol, inflicting Level 2 Harm on Bas. Checking armour, Bas accepts Level 1 Harm and Nia skewers the flailing Umbra Hunter, ending the conflict.
- Nearby, the bells of Bellsweather Crematorium begin tolling.
- The Emporium Crew survey the slaughter. They have just wiped out the last of the Umbra Hunters in a bloody battle that has taken less than a minute. How on earth will they explain all of this? What a mess!
Part 12 – Coming Clean (Hal, Nia, Bas, Veretta, Leander)
- Bluecoats and Spirit Wardens descend on the scene, and the Emporium Crew decide not to stick around. However, they know that Inspector Severin will quickly figure out that they are behind the bloodbath and hence they resolve to meet with him as a matter of urgency.
- Arranging to meet in a public place, the entire Crew meets with Inspector Severin. They come clean, explaining that there are factions in Duskwall who wish to silence them. Veretta shows Inspector Severin the logbooks that were recovered from Becker’s safe which shows diminishing stockpiles of electroplasm to fuel the lightning barriers and that the Leviathan Hunters are going out less frequently, going away for longer and coming back with less Leviathan blood.
- They use a Group Consort and get a ‘6’ (it was almost a Sway because they choose not to tell Severin about the artefacts of Kotar and the Circle of Flame). At this point, the Active Clock ‘Severin Figures It Out’ is completed – 6 of 6. Severin understands that what they have uncovered is a threat to Duskwall and a threat to the Imperium itself, and he says that they must move carefully going forward. Severin is aware that some members of the Emporium Crew and the Greycloaks have committed serious crimes of late, but he needs to think about the big picture and he will need their help in the future.
- At this point, the Emporium Crew gains a +1 relationship with the Inspectors, and the Active Clock ‘Avenge their Expulsion’ (Greycloaks) is now 2 of 8 because the Greycloaks (and the Emporium Crew) have a new ally.
Part 13 – Dealing with the Candymen (Hal, Nia, Bas, Veretta)
- Nia goes to see Telda, her beggar contact in Coalridge, to find if she knows anything about these ‘Candymen’. Unfortunately, she doesn’t know anything specific (Result was a ‘3’) – there are lots of desperate people in Coalridge.
- The Emporium Crew decides to use Erik Liefstrom as bait. They set up an Emporium stall in Coalridge (with young Erik running the stall) and decide to watch for the people that Adric, Marla and Lucille saw rob the Silkshore shop. Erik is instructed to be generous with the candy for those people and give them the ‘special candy’ that Bas has prepared. (Bas made a Tinker roll of ‘6’ to make supercharged laxative candy).
- It doesn’t take long for some of the Candymen to turn up and bully Erik into handing over candy. They see this as their ‘turf’. Taking the candy and walking away with it, the Emporium Crew wait and watch for them to eat some of it and the effects to take hold. In only a few minutes, the heavily muscled Iruvian who seems to be leading the thuggery looks very sick and Hal confronts the entire gang.
- Hal makes a Command roll (and gets a ‘6’). He basically threatens to exterminate the entire gang if he ever sees them again and they run off, greatly intimidated.
- Bas praises Erik for a job well done and promises to treat him. The Crew pack up and get home.
Part 14 – Bodyswapping (Bas, Veretta, Hal)
- A few days later, the Greycloaks perform a Survey of Becker’s movements (2D and they get a ‘5’), hence they get very limited information. They then attempt to seize Becker and are successful (3D and they get a ‘6’). Becker is taken to the Morgue at Charterhall University.
- Previously, Veretta has asked for Quellyn’s help with the ritual and she was keen to assist (Fortune roll = ‘5’ – she’s keen but doesn’t know exactly what to do). Further research is done (Group Study = ‘6’) and they figure out how they will approach it.
- Between Bas, Veretta, Hal and Quellyn, they manage to complete the bodyswap (Group Attune = ‘6’). Belloc-in-Becker’s body is free of pain for the first time in an age, and Nessa sends him to assume Becker’s identity. Becker-in-Belloc’s body is wracked by pain and Nessa locks him up in her lair. She thanks the Emporium Crew for their help and promises to share what they learn.
Part 15 – Basement Level 2 (Bas, Veretta)
- With the ritual complete, Bas and Veretta return to their work on the Black Medusa (Veretta continues to work at night on the ritual to open the Ancient Gate to the Deathlands). Veretta tries to help by looking in the library for any ideas which might help with Bas’ project but he draws a blank (Study = ‘2’).
- Meanwhile, Bas continue to tinker with the Black Medusa. He accepts a Devil’s Bargain that The Dean will see him as his most promising researcher (and new secrets will be revealed to him) and he makes a Tinker roll – he gets a ‘4’. As such, he is able to revive the Black Medusa. The other researchers were on the right track – immersing the Medusa in fluid and then electrifying it gently to stimulate it does result in triggering of the regenerative cycle. This ‘Leviathan Spawn’ has literally been brought back from the dead.
- The Dean is very pleased and takes Bas down to Basement Level 2, where his special projects are underway. There, Bas sees experiments for underwater exploration: A Hull with glowing eyes that can see through the inky blackness of the sea; A small submersible; Man-fish hybrid creatures with lamprey-like face. Bas asks who pays for all of this and The Dean tells him that Lord Strangford is a patron. We fade to black as Bas looks around in fascination….
- Separately, Belloc-in-Becker’s body reports back to Nessa that Becker has a minder – a hulking creature which has a lamprey-like face. (a fact that will no doubt be shortly passed on to the Emporium Crew)
And that’s where we left it……
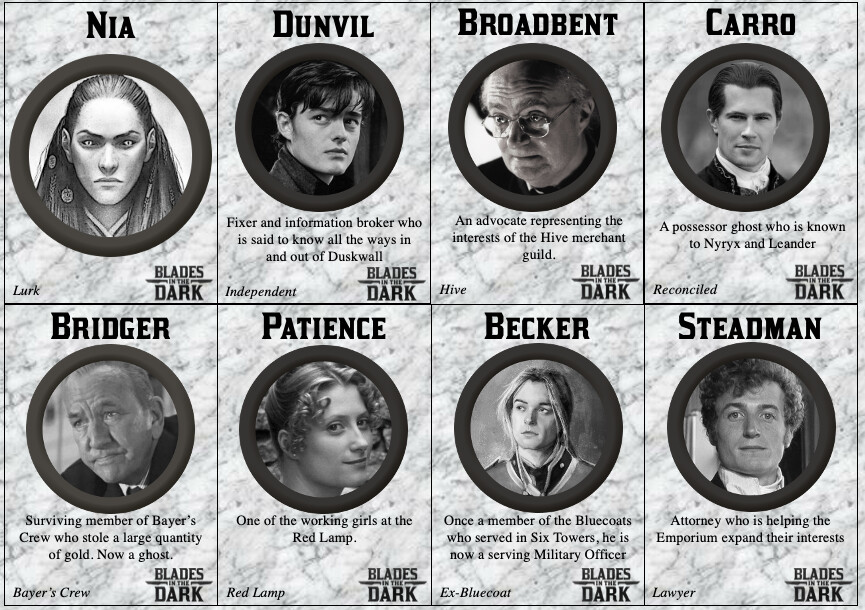
I’ll post up the Score results another day. It’s getting late here. When I post that up, I’ll also post up what would have happened if Leander was not rescued…. (just for the fun of it) and also the cards with pictures for Nia’s contacts, plus Erik Liefstrom and Belloc.
Season 2 Episode 5 is planned for Tuesday 16th March.